

When it comes to liposuction, the most effective way to manage post-op swelling is by being proactive. Your first few days are crucial. Think of it less as “downtime” and more as “active recovery.” The steps you take right after your procedure will directly influence how quickly you heal and see your final results.
The First 72 Hours: Your Immediate Swelling Reduction Plan
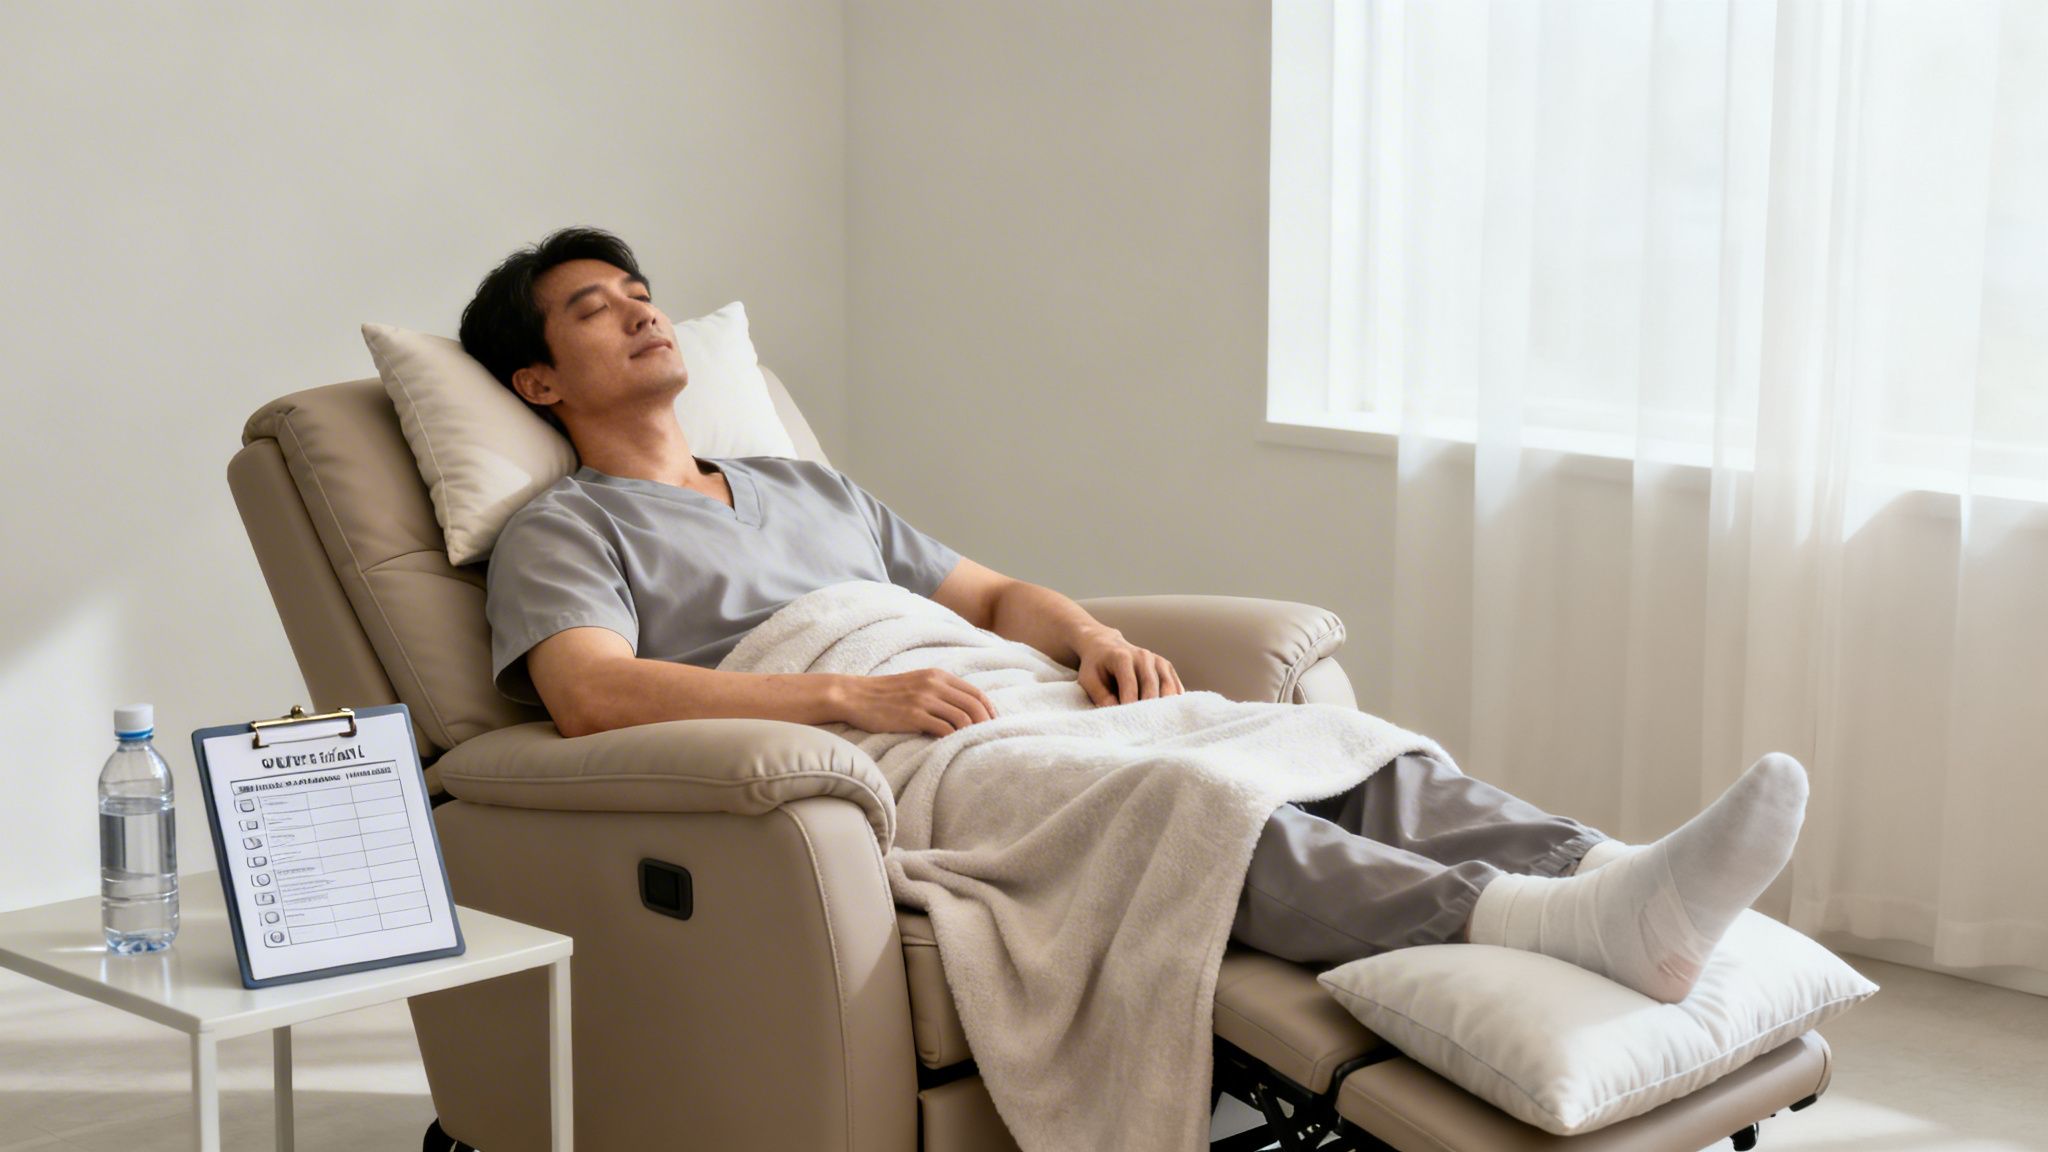
From the moment you arrive home, your focus should be on creating an environment that helps your body clear fluid and minimize inflammation. Swelling is a completely normal response to surgery, but you have a surprising amount of control over it.
This initial swelling will begin to set in during the first 48-72 hours, often peaking around day three or four. Don’t be alarmed; this is expected. By the second week, you should start to see a noticeable improvement as the initial inflammatory phase calms down.
To help you stay on track, we’ve put together a simple checklist for those critical first three days. Following these steps will set the stage for a much smoother recovery.
Your First 72 Hours: Swelling Management Checklist
| Day | Primary Focus | Key Actions |
|---|---|---|
| Day 1 | Rest & Elevation | Stay in a recliner or propped up with pillows. Get up only for short, slow walks to the bathroom. Prioritize hydration. |
| Day 2 | Gentle Movement | Continue strategic rest and elevation. Aim for short walks around the house every 1-2 hours while awake. |
| Day 3 | Consistent Care | Swelling may peak. Continue all previous actions: elevation, light walking, and wearing your compression garment as directed. |
Remember, consistency is everything. Each of these small actions adds up to make a big difference in how you feel and how quickly the swelling subsides.
Elevate and Rest Strategically
Gravity can be your best friend or your worst enemy after surgery. Your goal is to make it work for you. Keeping the treated areas elevated above the level of your heart is a simple but incredibly powerful way to help fluid drain away from the surgical site.
- For Abdominal or Back Lipo: A recliner is ideal. If you don’t have one, use a wedge pillow or stack of firm pillows to keep your upper body propped up at a 30 to 45-degree angle. Avoid lying completely flat.
- For Leg or Thigh Lipo: When resting, stack several pillows under your legs to ensure they are comfortably elevated above your heart.
- For Arm Lipo: Build a “nest” of pillows on either side of you to keep your arms propped up while you rest or sleep.
Plastic Surgeon Tip: Don’t just elevate when you’re sleeping. Make a conscious effort to keep the area propped up anytime you’re sitting or resting during the day. This constant effort dramatically reduces morning stiffness and puffiness.
Embrace Gentle Movement
While you absolutely must avoid strenuous activity, becoming a statue in bed can actually slow down your recovery. Light movement is essential for good circulation, which helps your body clear out fluid and also reduces the risk of blood clots.
Your first “walk” might just be a slow shuffle from your bed to the couch, and that’s perfect. We encourage patients to take these short, gentle walks around the house every hour or two. This light activity gets your lymphatic system working, which is your body’s natural drainage system for swelling. If you’re looking for more general recovery tips, this practical guide to recovering from surgery at home is a great resource.
Prioritize Rest and Pain Management
Healing requires a tremendous amount of energy, and your body gets that energy from quality rest. This is also where pain management comes in. Staying on top of your prescribed medication schedule isn’t just about comfort—it’s a critical part of the recovery plan.
When pain is well-managed, you can rest more deeply and perform the gentle movements we recommend without cringing. This keeps your body out of a state of stress, allowing it to focus all its resources on healing. For more detailed strategies, you can read our complete guide on how to manage pain after surgery.
Mastering Your Compression Garment For Optimal Healing
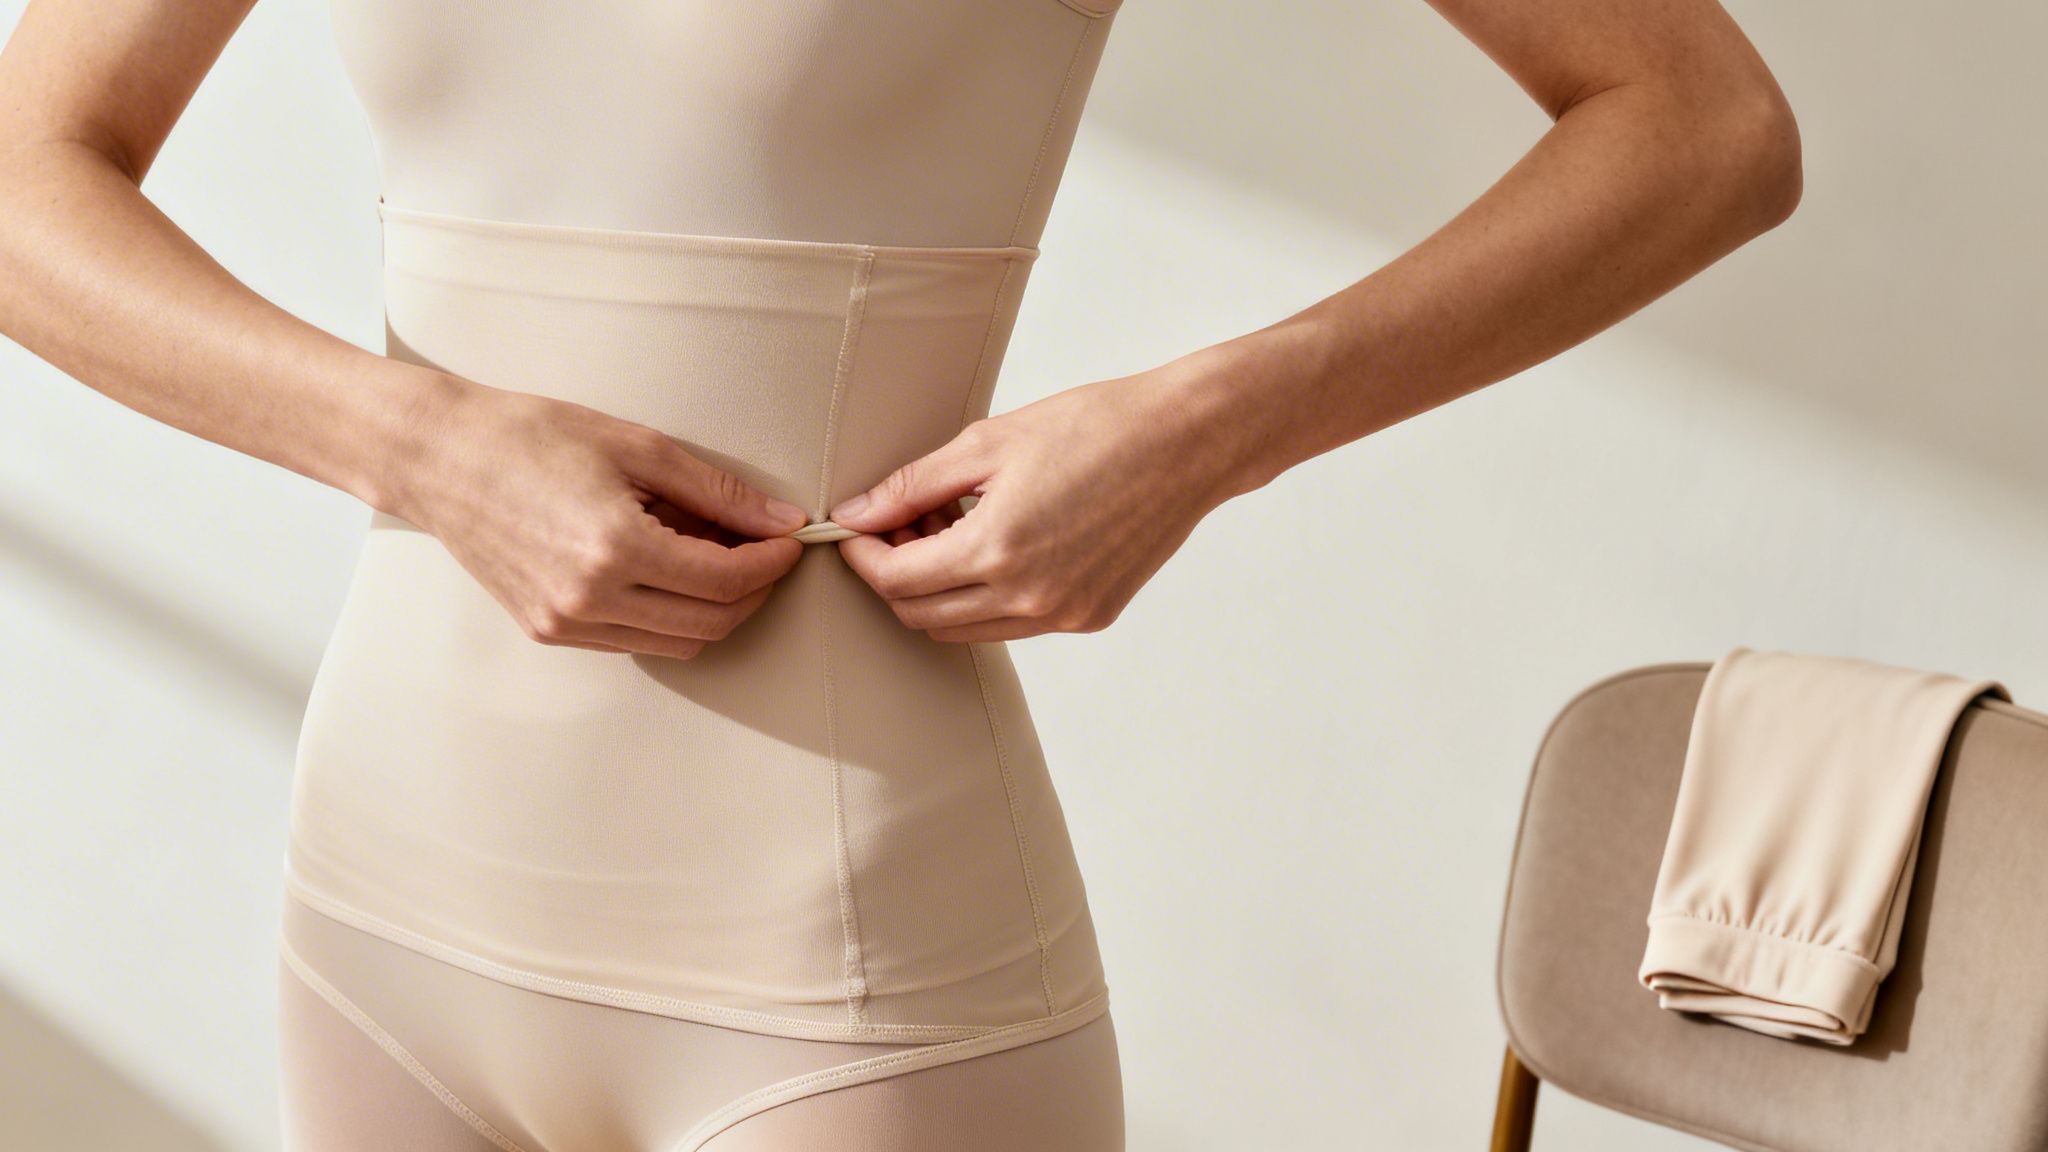
If there’s one part of your liposuction recovery that is completely non-negotiable, it’s wearing your compression garment. I tell my patients to think of this as a critical medical device that actively shapes their final result, not just a piece of supportive clothing.
Wearing it is the first step, but wearing it correctly is what truly makes the difference. This garment is your primary defense against excessive swelling and is vital for helping your skin conform to your new body contours.
The Science Behind The Squeeze
Why is a simple garment so important? When fat is removed during liposuction, a potential space is left behind. The body’s natural response is to fill that space with fluid as part of the inflammatory and healing process.
Your compression garment applies constant, even pressure to this area, which accomplishes two critical things:
- It physically limits the amount of space available for that fluid to pool, which directly reduces how much you swell.
- It helps the lymphatic system do its job by encouraging it to absorb and flush out the existing fluid more efficiently.
This process not only makes you much more comfortable in the days and weeks after surgery but also helps prevent the formation of seromas (pockets of fluid). More importantly, it ensures the skin adheres smoothly to the underlying tissue for a more refined final contour.
Your Garment Wear Time A Week By Week Guide
While I tailor the exact duration to your specific procedure and how you’re healing, a general timeline can give you a clear roadmap. The most important thing, especially in the early stages, is consistency.
- Weeks 1-2 (The Critical Phase): You’ll be instructed to wear your garment 24/7. It should only come off for short periods to shower and wash the garment itself. This is when swelling is at its peak, and that round-the-clock pressure is essential.
- Weeks 3-4 (The Transition Phase): As the initial, more intense swelling subsides, I may clear you to reduce your wear time. This often means wearing it for about 12 hours a day—either during the day while you’re active or just overnight.
- Weeks 5+ (The Support Phase): Many patients can stop regular, daily use at this point. However, you might find it feels good to wear it for extra support during exercise or on days when you feel a bit more swollen.
Clinical data strongly supports this approach. In fact, patients who wear their garments for the recommended time—around 23 hours daily during that first week—often see their swelling reduce 30-40% faster than those who are less consistent.
Real-World Tip: Buy a second garment. Having two allows you to wear one while the other is being washed and dried. This simple trick eliminates any excuse to go without it, ensuring you maintain that crucial, constant compression.
Achieving The Perfect Fit
Your garment should feel snug and supportive, but never painfully tight. An improper fit can cause more harm than good, either by being ineffective or by creating creases that can leave indentations in your healing skin.
The right fit feels like a firm, supportive hug. You should be able to slip a flat hand between the garment and your skin, but not much more. If you experience numbness, tingling, or significant pain, the garment is definitely too tight. If it feels loose or bunches up, it’s not providing the compression you need. To effectively manage swelling and support healing, finding the right medical compression garments is essential.
Stage 1 vs Stage 2 Garments
As your body heals and the initial swelling goes down, you’ll notice your first compression garment starting to feel loose. This is a great sign! It shows you’re making progress and means it’s likely time to transition to a “Stage 2” garment.
| Garment Type | Purpose | Typical Wear Time |
|---|---|---|
| Stage 1 | Provides high-level compression with zippers or hooks for easy wear over tender, swollen skin. | First 1-3 weeks post-op. |
| Stage 2 | A pull-on style, often similar to firm shapewear, offering continued support as swelling subsides. | Worn for several weeks after Stage 1. |
Moving to a Stage 2 garment is an important milestone in your recovery. It means the most intense phase of swelling is behind you, and you’re now focused on refining your new shape and supporting the tissues as they settle into their final position. Always follow my specific advice on when to make this switch.
Fueling Your Recovery With Nutrition And Gentle Movement
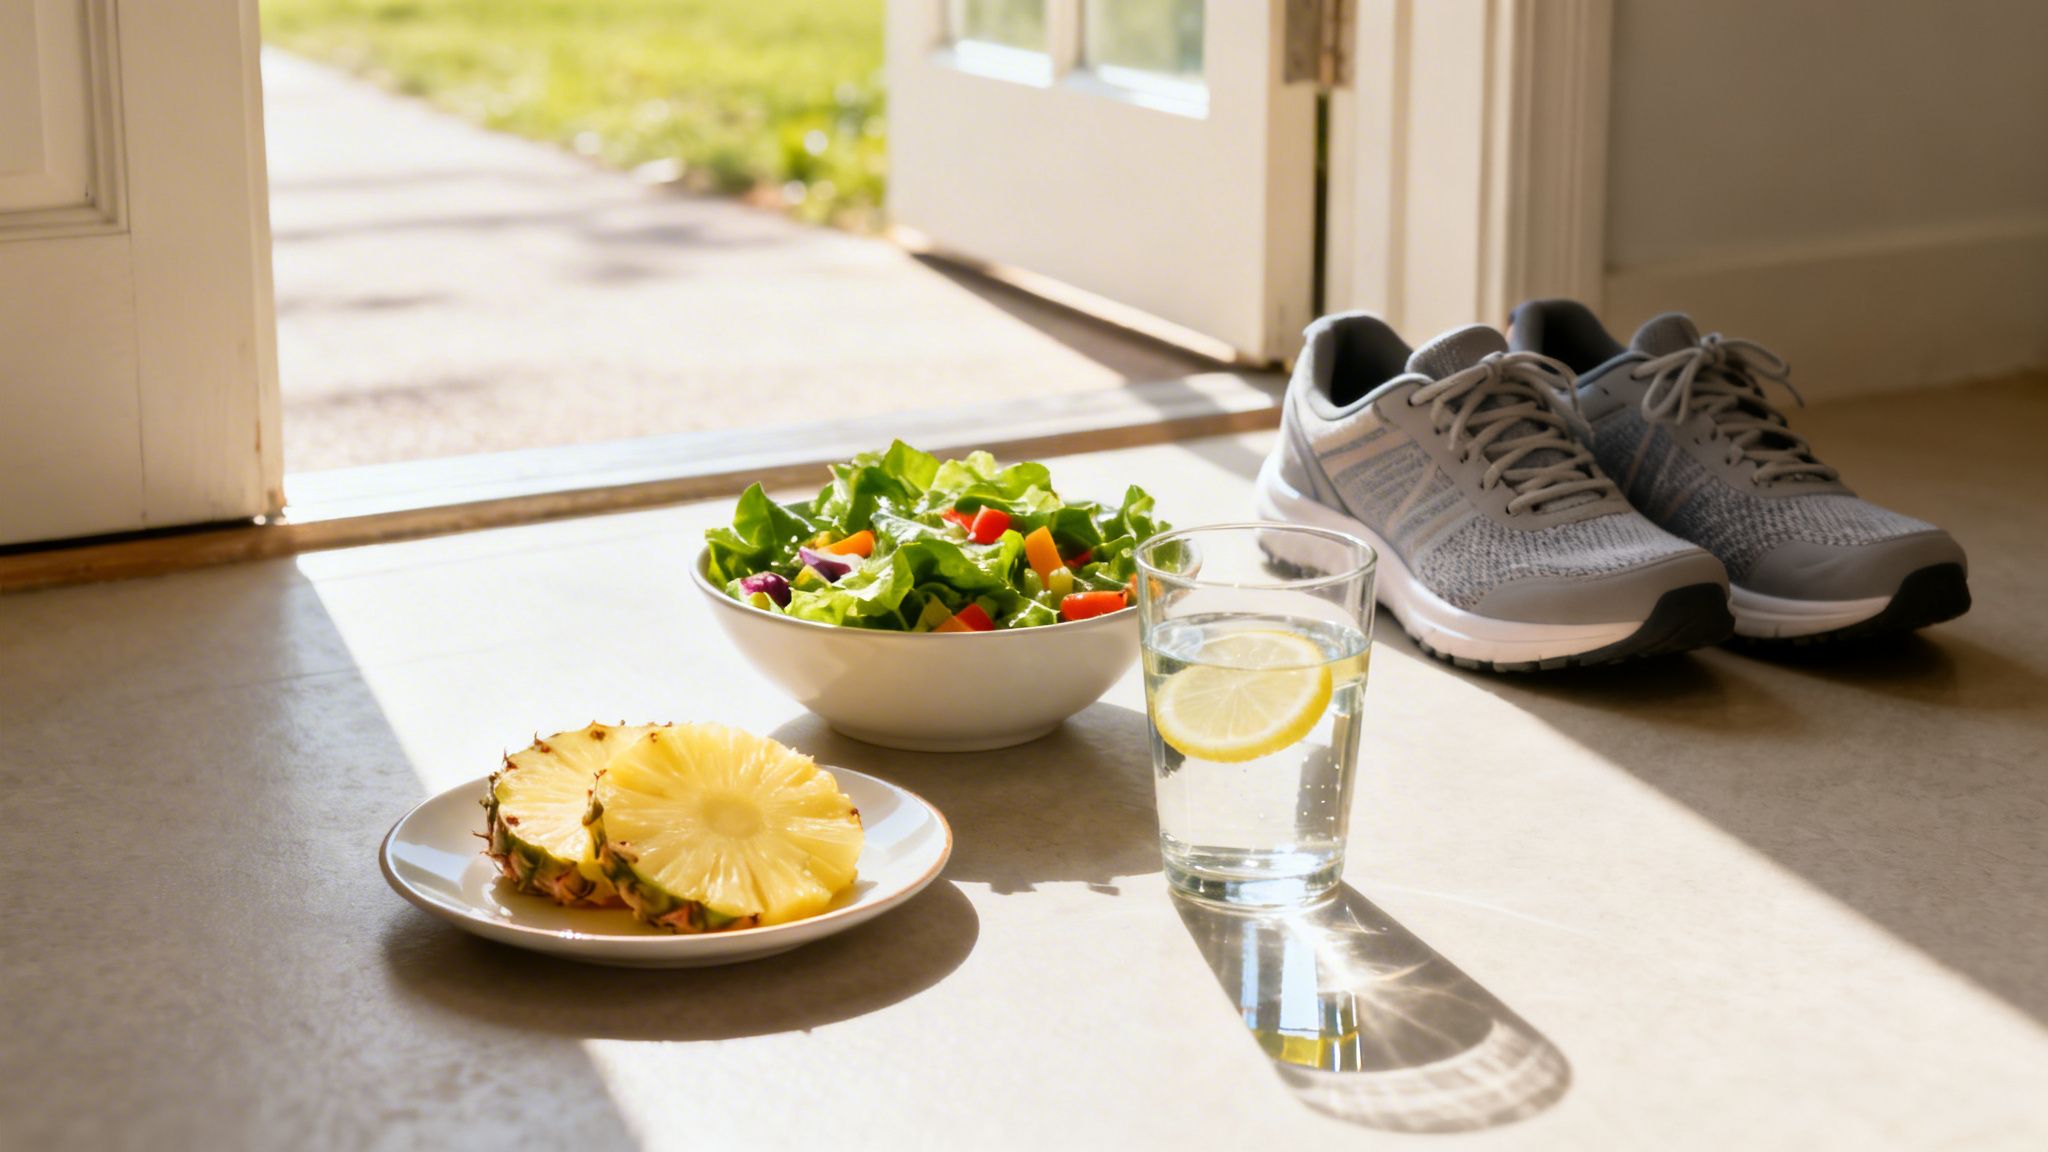
While your compression garment is doing its job on the outside, what you eat and how you move are your secret weapons for healing from the inside. Think of your diet and activity level as your internal team, actively fighting inflammation and helping your body flush out all that extra fluid.
This isn’t about some miserable, restrictive post-op diet. It’s about making smart choices that give your body the tools it needs to repair itself, while steering clear of things that make swelling worse.
Anti-Inflammatory Foods That Help Reduce Swelling
Your post-op grocery list should be full of fresh, whole foods that naturally combat inflammation. These are your allies in recovery.
- Pineapple and Papaya: You’ve probably heard this one before, and for good reason. These fruits contain the enzymes bromelain and papain, which are powerhouses for reducing both swelling and bruising.
- Berries and Cherries: These are packed with antioxidants that help protect your body’s cells while they’re working overtime to heal.
- Leafy Greens: Think spinach, kale, and other dark greens. They’re loaded with vitamins like K, C, and A that are absolutely essential for tissue repair and calming inflammation.
- Healthy Fats: Don’t be afraid of fats! Foods like avocado, salmon, walnuts, and a good quality olive oil provide omega-3 fatty acids, which play a big part in keeping your body’s inflammatory response in check.
Surgeon’s Insight: Keep it simple. A beautiful piece of grilled salmon with a side of steamed spinach and a bowl of fresh berries gives your body a potent mix of anti-inflammatory nutrients to kickstart your healing.
The Critical Role of Hydration
I know it sounds backwards—drink more water when you’re already swollen? Absolutely. Staying properly hydrated is one of the most important things you can do to reduce swelling after liposuction. When your body gets enough water, it stops trying to desperately hold onto every last drop.
Your goal should be at least 8 to 10 glasses of plain water every day. This helps your system flush everything out, keeping your lymphatic drainage moving efficiently. Steer clear of sugary sports drinks, sodas, and too much caffeine, as they can actually work against you.
Foods to Avoid That Worsen Swelling
Just as some foods help, others can make swelling significantly worse. The number one offender here is sodium. Salty foods make your body retain water, which is the exact opposite of what we want.
You have to be a bit of a detective, as salt hides in many foods:
- Processed snacks like chips and pretzels
- Canned soups and broths
- Frozen dinners and pre-packaged meals
- Deli meats and cured foods like bacon
- Virtually all fast food
Cutting back on these, especially in the first few weeks, will make a huge difference in your comfort and your results. For more tips on building a healthy post-op meal plan, you can check out our guide on the ideal diet after a tummy tuck; the core principles are very similar.
A Progressive Plan For Gentle Movement
Rest is crucial, but so is getting up and moving around. It’s all about finding that perfect balance. Light activity gets your blood flowing, which is exactly what your healing tissues need. It brings in oxygen and nutrients and helps carry away all that excess fluid.
Your activity needs to be progressive. Start small and listen to your body.
| Week | Recommended Activity | Goal |
|---|---|---|
| Week 1 | Light Walking: Short, slow walks around your house for 5-10 minutes every couple of hours. | Prevent blood clots and get circulation going. |
| Weeks 2-3 | Increased Walking: Longer walks outside on flat ground. Try for 20-30 minutes once or twice a day. | Gently build stamina and improve lymphatic flow. |
| Weeks 4-6 | Low-Impact Exercise: You can start introducing a stationary bike or elliptical at a very low intensity. | Begin regaining fitness without stressing the treated areas. |
It’s absolutely critical to avoid any heavy lifting, strenuous workouts, or high-impact exercises like running for at least four to six weeks, or until I give you the official all-clear. Your body is your best guide—if something hurts or you see a sudden spike in swelling, that’s your cue to pull back immediately.
While your compression garment, diet, and gentle movement are the cornerstones of your recovery, there’s another technique we often recommend to enhance the healing process: Manual Lymphatic Drainage, or MLD. This is not a standard massage. It’s a very specialized, light-touch therapy aimed at getting your body’s natural drainage system working efficiently again after surgery.
Think of your lymphatic system as a complex network of tiny vessels responsible for clearing out waste and excess fluid. Liposuction, as effective as it is, temporarily disrupts this delicate system. That disruption is a major reason for the persistent swelling and fluid retention you see after your procedure. MLD essentially gives that trapped fluid a gentle nudge, guiding it back toward functioning lymph nodes where your body can finally process and remove it.
What A Real MLD Session Feels Like
If you’re imagining a deep-tissue massage, MLD will feel completely different. It’s actually the exact opposite. A certified therapist uses incredibly light, rhythmic, and directional strokes—almost like they are just gently stretching the skin. There is no deep kneading or intense pressure on your sore tissues.
The goal isn’t to work your muscles but to stimulate the lymphatic vessels that lie just beneath the skin. The touch is so light that many of our patients find it incredibly relaxing. They often report that MLD doesn’t just help with swelling, but also noticeably eases the tenderness and discomfort in the areas treated.
The Powerful Benefits of Post-Surgical MLD
Adding MLD to your recovery plan provides distinct advantages that go beyond what compression and diet alone can offer. The most immediate benefit, of course, is a visible reduction in swelling. By manually clearing the fluid buildup, MLD helps you feel more comfortable much faster and lets you see your new contours sooner.
Beyond just fluid, MLD is also highly effective for another common post-lipo issue: fibrosis. These are the firm, lumpy, or hard spots that can sometimes develop under the skin as it heals. MLD helps to soften these areas, calm the inflammatory response, and improve the overall texture of your tissue, which contributes to a smoother final result.
The key benefits include:
- Accelerated Swelling Reduction: Directly targets and mobilizes trapped fluid away from the surgical sites.
- Softening of Firm Spots (Fibrosis): Helps smooth out the lumpy or hard areas that are a normal part of the healing process.
- Reduced Discomfort and Tenderness: The gentle technique is very soothing for sore tissues and can decrease pain levels.
- Support for Faster Overall Healing: By improving circulation and reducing inflammation, it gives your body’s natural repair mechanisms a boost.
Finding The Right Therapist And Timing
This is one service you should never book on a whim from a local spa. It is absolutely critical to find a certified lymphatic drainage therapist (CLT) who has specific training and experience with post-surgical patients. A therapist without the right experience might use too much pressure or incorrect techniques, which can make swelling worse or even cause damage.
Expert Recommendation: Always ask a potential therapist about their certification and how much experience they have with post-liposuction patients specifically. A true professional will be transparent about their qualifications and will understand the delicate nature of your recovery.
When you start your sessions is also very important. You must get clearance from me, Dr. Bain, before beginning any MLD treatments. Typically, I clear patients to start as early as 5-7 days after their procedure, once the most acute phase of recovery is complete. We can provide recommendations for trusted, certified therapists in the Newport Beach area to ensure you’re in good hands. For the best outcome, a series of treatments is usually necessary, often starting with 2-3 sessions per week and then tapering off as your swelling subsides.
Your Liposuction Swelling Timeline From Week One To Year One
One of the most important parts of a successful liposuction recovery is managing your expectations. From my years of experience, I can tell you that the journey from the operating room to your final, sculpted result is a marathon, not a sprint. Knowing what’s normal and what to expect can make all the difference, helping you stay confident instead of worried.
This timeline will walk you through the typical progression of swelling. We’ll cover everything from the initial “peak swelling” phase to the very last subtle changes that happen over the course of a year.
Week One: The Peak Swelling Phase
The first week after your procedure is when you’ll see the most dramatic swelling. This is completely normal. Your body is responding to the surgery by sending healing cells and fluid to the treated areas.
Don’t be alarmed if the areas look even larger than they did before surgery—this is expected. Swelling usually hits its peak around day three or four. The area will feel firm, quite tender, and you’ll likely see significant bruising. Trust the process and your compression garment; it’s doing critical work to manage this initial phase.
A Note on Mindset: Many of my patients feel a bit discouraged this week. It’s important to remember that what you’re seeing in the mirror is just temporary inflammation, not fat. Patience is your best friend right now.
Weeks Two to Four: The Turning Point
This is when things start to look up. You’ll begin to notice a real decrease in the most intense, acute swelling. While you’re still a ways off from the final result, you will definitely start to see a new shape emerging.
You might feel some lumpiness or hard, ropy spots under the skin. We call this induration, and it’s a normal part of the healing process caused by leftover fluid and firming tissue. Sticking with your Stage 2 compression garment and starting gentle massage (once you get the green light from me) will help soften these areas significantly.
The timeline below shows how a technique like Manual Lymphatic Drainage (MLD) fits into this process to help manage fluid and speed up healing.
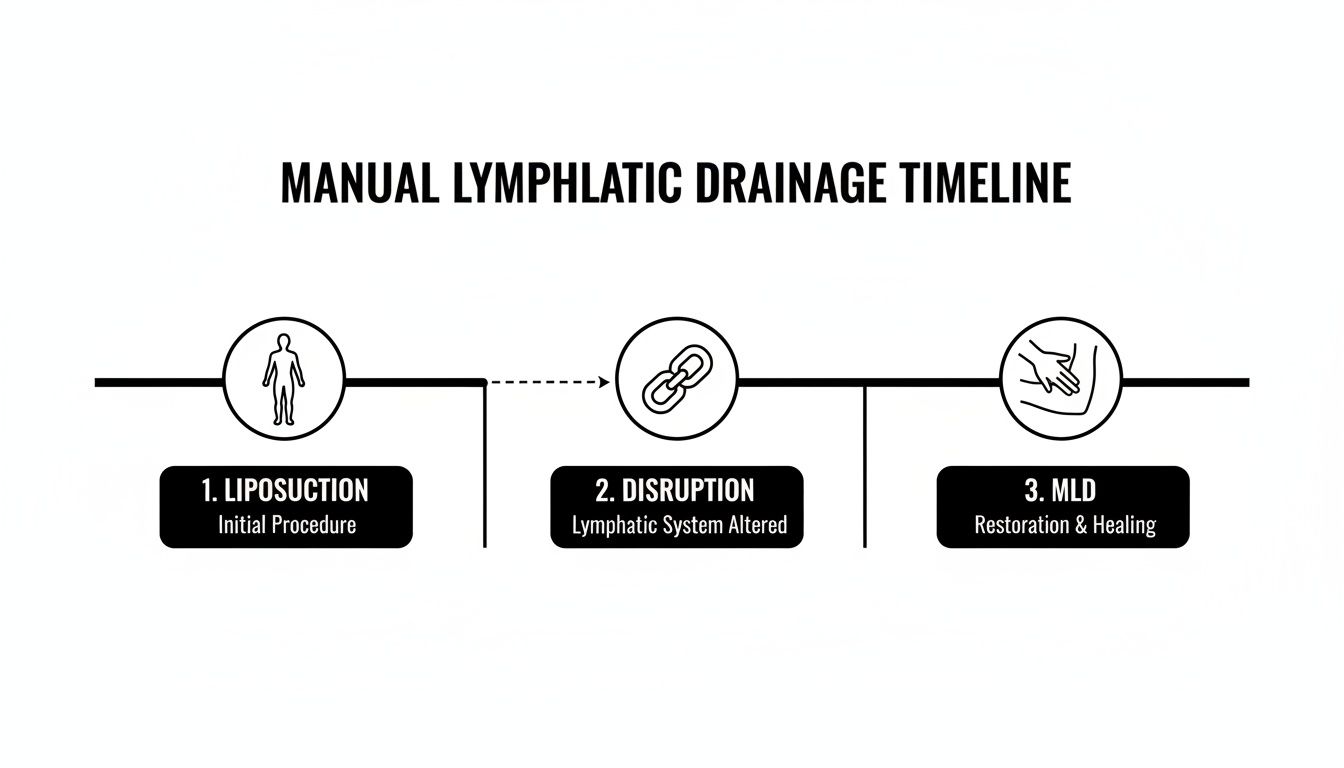
As you can see, MLD helps your body overcome the temporary lymphatic disruption from surgery, allowing it to clear fluid much more efficiently.
Months One to Three: Seeing The Shape Emerge
By the end of your first month, a good 60-70% of the major swelling is usually gone. At this point, you can really appreciate a large portion of your results, and your clothes should be fitting much better.
You’re not done yet, though. Residual swelling is still present. It’s often subtle and can fluctuate, sometimes feeling worse at the end of the day or after you’ve been more active. The lumpiness and firmness will continue to soften during these months. This phase is all about patience as your body does the slow, steady work of refining your new contours. If you’re curious how this compares to other procedures, our facelift recovery timeline offers another look at different healing patterns.
Months Six to Twelve: The Final Refinement
Welcome to the home stretch. During this final stage, the last 10-15% of swelling will gradually disappear. This lingering bit of swelling is often so subtle that you might not even notice it day-to-day, but its departure is what allows for the ultimate definition and skin tightening to become apparent.
By the one-year mark, your results are considered final. The tissues have fully healed, the skin has retracted as much as it’s going to, and your new shape is stable. This long timeline is precisely why surgeons always stress that patience is non-negotiable—the beautiful, natural results you’re after take time to fully mature.
To give you a clearer picture, here is a simple breakdown of what to expect and when.
Liposuction Swelling Resolution Timeline
This table provides a general overview of the swelling stages after liposuction. Remember, everyone heals at their own pace, but this gives you a reliable map of the journey ahead.
| Timeframe | Expected Swelling Level | Key Milestones & Sensations |
|---|---|---|
| Week 1 | Severe (100%) | Peak swelling and bruising. The area may look larger than pre-op. Tenderness is significant. |
| Month 1 | Moderate (30-40% remaining) | Major swelling subsides. Lumps and firmness (induration) are common. Your new shape starts to become visible. |
| Month 3 | Mild (15-20% remaining) | Most daily, noticeable swelling is gone. Firmness continues to soften. Your shape is well-defined but not final. |
| Month 6+ | Minimal (<10% remaining) | The last subtle swelling resolves. Skin continues to tighten. Final definition and texture improve. |
Ultimately, following your post-op instructions and being patient with your body’s natural healing process are the keys to seeing the fantastic results we planned for.
Common Questions About Post Liposuction Swelling
After guiding countless patients through their liposuction recovery, I’ve found that the same questions tend to come up during follow-up appointments. Knowing what to expect and what’s normal is key, so let’s address some of the most common concerns I hear in my practice.
Is It Normal For One Side To Be More Swollen Than The Other?
Yes, this is completely normal and something I see all the time. Your body is not perfectly symmetrical, and it won’t heal that way either. One side might have had slightly more fat removed, or you might naturally put more pressure on it when you move or sleep.
This kind of asymmetrical swelling almost always resolves on its own over the first few months. The best thing you can do is keep up with your compression garment schedule and point out any major differences to me at your follow-up visits so we can keep a close eye on your progress.
What Are These Hard Lumps I Feel Under My Skin?
Feeling firm or even rope-like spots under the skin is an extremely common part of the healing process. This is known as induration, which is just a mix of trapped fluid and your body’s natural inflammatory response as the tissue repairs itself.
While they can feel a bit strange, these hard spots are actually a sign that your body is actively healing. They are not permanent and will soften over time.
Consistent compression is your most important tool here. Once I give you the green light, gentle self-massage and professional Manual Lymphatic Drainage (MLD) can also make a big difference in helping these areas soften up more quickly. For most patients, they disappear completely within a few weeks to a couple of months.
When Can I Stop Wearing My Compression Garment Completely?
I know every patient looks forward to this day, but the timeline depends entirely on your personal healing. There’s no single answer. Most patients will need to wear the garment 24/7 for the first 1-2 weeks. After that, we typically transition to wearing it for about 12 hours a day for several more weeks.
Around the four-to-six-week mark, we can start talking about stopping regular use. Don’t be tempted to stop wearing it early, as this can set your progress back. Even after you’re cleared, many patients find it helpful to wear the garment during workouts or on long days to manage any minor swelling that pops up with activity.
When Should I Be Worried About Swelling?
While general, widespread swelling is a given part of how to reduce swelling after liposuction, some signs are not normal and need my immediate attention. It’s crucial to know the difference.
You need to call my office right away if you notice any of the following:
- A sudden, significant increase in swelling, especially if it’s in one isolated spot.
- Severe pain that isn’t getting better with your prescribed medication.
- The skin in the treated area is becoming red or feels hot.
- You develop a fever over 101°F (38.3°C).
These symptoms could signal a problem like a hematoma (a collection of blood under the skin) or an infection. Both require prompt medical care. Your safety is always our first priority, so we would much rather you call with a concern than wait and worry at home.
At the practice of Michael A. Bain, MD, we are committed to ensuring you have a safe, comfortable, and well-supported recovery. If you ever have questions or concerns about your healing process, please do not hesitate to contact our Newport Beach office. Visit us at https://www.drbain.com to learn more.